

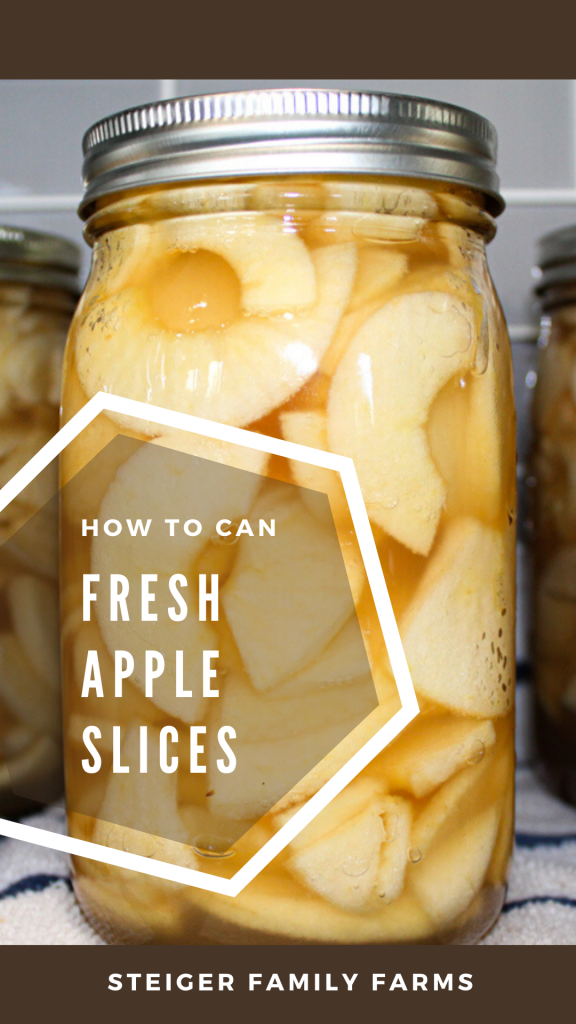
If you love to go apple picking but want to make something besides applesauce, then this is the recipe to use! There is nothing like the fresh crunch of an apple in the fall. Canning fresh apple slices will preserve that crunch for you all winter long.

What You Need to Can Fresh Apple Slices
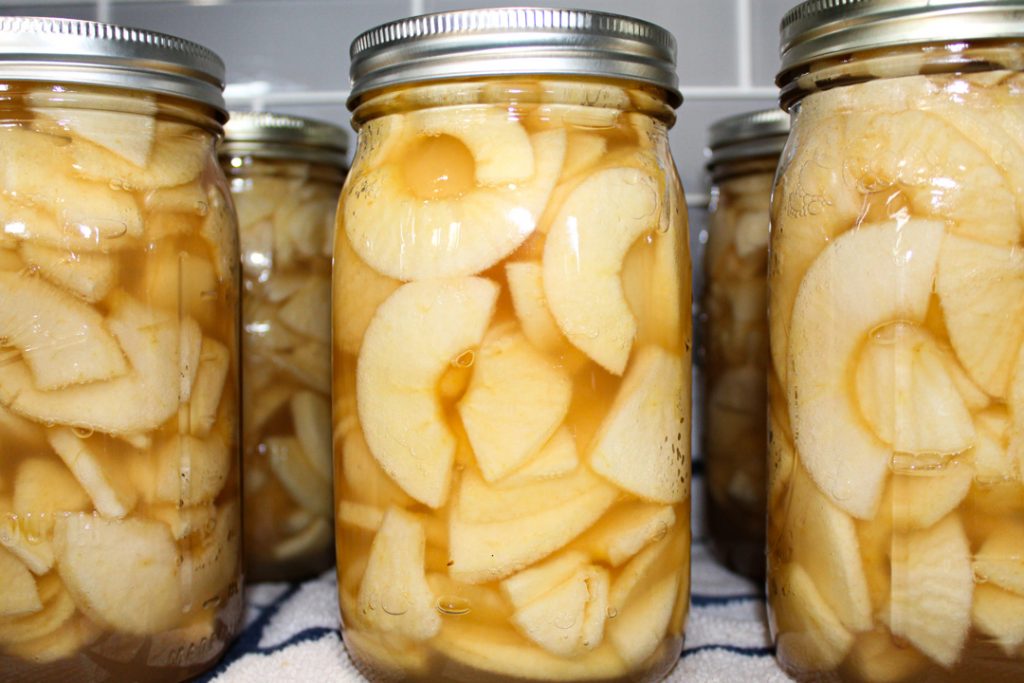
As with all canning recipes, you need some glass canning jars, rings, and lids before you get started. There are lots of brands out there and I have a collection of them all. Personally, I can my fresh apple slices in quart-sized jars. One quart is generally enough to make a pie with or enjoy straight out of the jar over the course of a week. Or less!
If you are canning these for just two or three people and plan to enjoy them right out of the jar or in some breakfast oatmeal, then you may want to can your fresh apple slices in pint-sized jars.
Canning Supplies List
Fresh Apple Slices Ingredients
- Fresh apples
- Sugar
- Lemon juice
How to Can Fresh Apple Slices
Step 1: Wash the apples
I like to clean my apples by soaking them in the kitchen sink with water and white vinegar. After they soak for 5-10 minutes while I am setting up my equipment, I drain the water and then rinse them off. For this recipe, you will peel the apples so you just want to make sure they are relatively clean.
Step 2: Peel, core, and slice
This is the step where an apple peeler, corer, slicer will save you a ton of time and make your life much simpler. If you are making a big batch, it is definitely worth purchasing. They are fairly inexpensive. You can generally find them for 20-30 dollars at Walmart, Bed Bath and Beyond, or your local farm store.
Peel, core, and slice your apples to your desired thickness. I slice all of my apples thin with my peeler, corer, slicer that way I don’t have to worry about grabbing the wrong jar when I go to make an apple pie later.
Step 3: Layer the apples and sugar
In a large pot, bowl, or a food-grade five-gallon bucket, add 5 cups of apple slices. Sprinkle them with 3/4 cup of sugar. Continue layering until you have used all of your apples or run out of space. Cover the apples with plastic wrap. Place a plate on top of them to help press out their juices. Add a weight to the top (more plates or an actual weight). Cover the container with a lid.

Step 4: Wait 12-24 hours
Let your apples sit under the weight for 12-24 hours. This allows the juices of the apples to collect at the bottom of your container. You will use this juice later on when you can your fresh apple slices.
Step 5: Prepare your water bath and jars
Fill your water bath canner with enough water to cover 1 inch above the tops of the jars. Bring the water to a boil. Meanwhile, sterilize your jars and lids with hot water.
Step 6: Pack the fresh apple slices into jars
Next, remove the weight, plate, and plastic wrap from your fresh apple slices. Pack the apple slices into your jars leaving a between a 1 inch to 1/2 inch headspace.

Step 7: Boil the apple juice
Remove the juices and bring them to a boil in a large pot or stockpot. At this point, I like to add some lemon juice to my liquid. I generally add 1/2 tablespoon of lemon juice for every 5 cups of fresh apple slices that I am processing. The lemon juice is optional.
Note: I make my applesauce first and save the apple water from boiling the apples and use it when canning apple slices.
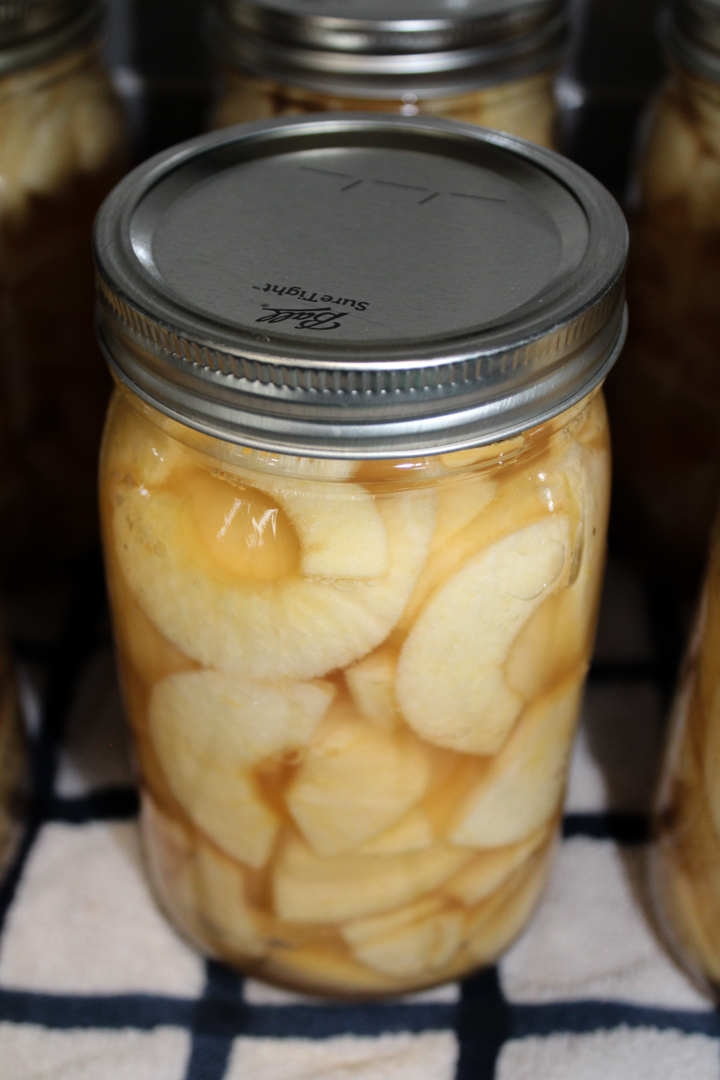
Step 8: Fill the jars with hot juice
Ladle the hot juice over your apple slices. Leave a 1/2 headspace, but cover all of the apple slices. If your fresh apple slices are not covered by the juice, remove some.
Step 9: Remove air bubbles
Run your canning bubble popper down the sides of the jar to remove any air bubbles. Then, use a clean damp cloth to wipe the rim of the jar. Lastly, place your warm lid on top, and screw on the ring.
Step 10: Process your fresh apple slices in the water bath
Use a jar lifter to place your jars in the water bath canner rack. You do not want the jars to touch otherwise they may crack. Slowly submerge the jars by lowering the rack into the water bath. Place the lid on top and process for 20 minutes for quarts and pints.
Remove the jars from the canner using a jar lifter and place them on a hand towel on the counter. Allow them to sit for 24 hours before wiping them down, labeling, and storing them.
Note: if the temperature in your home is cool, the liquid in the jars may begin to siphon out if you remove them from the canner too quickly. To avoid siphoning due to a rapid temperature/pressure change, turn your burner off and remove the canner. Allow the temperature/pressure to come down naturally before removing the jars.

Four Ways to Enjoy Canned Fresh Apple Slices
Canned fresh apple slices are super versatile and can be enjoyed all winter long. Here are a few ways my family enjoyed canned fresh apple slices:
- Apple pie
- Apple crisp
- Straight out of the jar as a side
- Apple cinnamon oatmeal
How to Can Fresh Apple Slices
There is nothing like the fresh crunch of an apple in the fall. Canning fresh apple slices will preserve that crunch for you all winter long
Ingredients
- Apple slices in 5 cup increments
- 3/4 cup of sugar per 5 cups of apple slices
- 1/2 Tbsp of Lemon Juice per 5 cups of apple slices (optional)
Instructions
- Wash the apples.
- Peel, corer, and slice the apples.
- In a large bowl or stockpot, add 5 cups of apple slices. Sprinkle them with 3/4 cup of sugar. Continue to layer until you have used all of your apple slices.
- Cover the top layer with plastic wrap and press down with a plate. Add a weight or additional plates to help press the juices out of the apples.
- Cover your container with a lid and let the apple slices sit for 12-24 hours.
- Fill your water bath canner with enough water to cover 1 inch above the tops of the jars. Bring the water to a boil. Meanwhile, sterilize your jars and lids with hot water.
- Pack the fresh apple slices into the jars leaving between 1 inch to 1/2 inch headspace.
- Boil the juices from your apple slices. Add your lemon juice to the juice.
- Ladle the hot juice over your apple slices. Leave a 1/2 inch headspace. Remove any apples that sit above the liquid in the jar.
- Remove the air bubbles by running your canning bubble popper down the sides of the jars. Wipe the rims with a damp cloth, place your warm lid on top, and screw on the ring.
- Process in the water bath canner for 20 minutes for both quarts and pints.
- Allow them to cool on the countertop for 24 hours before wiping them down, labeling, and storing them.
Notes
If the temperature in your home is cool, the liquid in the jars may begin to siphon out if you remove them from the canner too quickly. To avoid siphoning due to a rapid temperature/pressure change, turn your burner off and remove the canner. Allow the temperature/pressure to come down naturally before removing the jars.
Pin it for Later


Recent Comments